 Ahhh, the elusive Scandi Mei Tai. They are currently all the rage with MT lovers. Featuring beautiful fabrics and sturdy, strong construction, many devotees claim that Scandis make their heavy baby or toddler feel almost
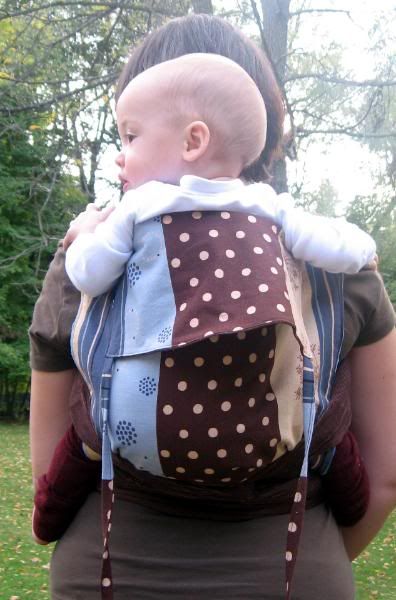
"weightless." There are equally as many tales of their magical sleeping properties - wear your baby in one and they'll instantly reward you with a nice, long snooze. Mmmm, Sounds like the perfect baby carrier, doesn't it?
Okay, first step. Assemble your materials.
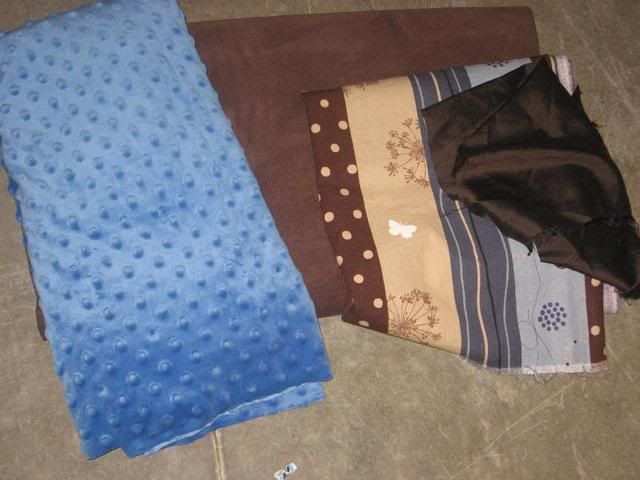 2.5 yards of strap fabric. In this case, 14-wale chocolate corduroy. When choosing your strap fabric - it is important to select a bottom-weight fabric like canvas, denim or twill with a minimum weight of 7 oz. Actually, 10 oz. is better. Baby cord is not strong enough for a baby carrier. NOTE: There has been a lot of recent discussion about the suitability of corduroy for mei tai straps. Cord is a compromised fabric because the pile inside the wales has been cut, thus weakening it. If you do intend to use cord for your mei tai, I can not stress enough how important it is to make sure that the cord is strong. Hold it up to the light before sewing with it. If you can see light through the fabric, it probably isn't strong enough. Cord carriers have ripped in several instances because the fabric used was not strong enough to support the weight of a baby. Please exercise utmost caution when using cord. For what it's worth, I now only make mei tais with heavy canvas (8-10 oz) or twill. In addition to being safer choices, sturdy, strong fabrics also offer the most support and comfort.
 5/8 yard designer fabric. I'm using Echino Cocoa Butterfly.
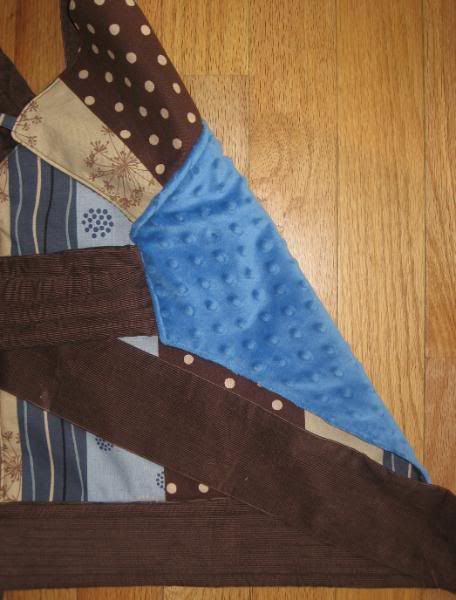
5/8 yard lining fabric. Blue Minky here.
Note - I decided not to use the dupioni silk pictured here.
You'll also need an 18" square of heavy canvas, some fleece or cotton batting for padding the waist and shoulder straps and coordinating high-quality thread like Gutermann. Make sure you wash and press all of your fabric before beginning.
Step One: Make the straps
My finished straps will be 4" wide by 84" long, so measure 9" across the short end of your cord, snip the end of the fabric, and RIP all the way to the end.
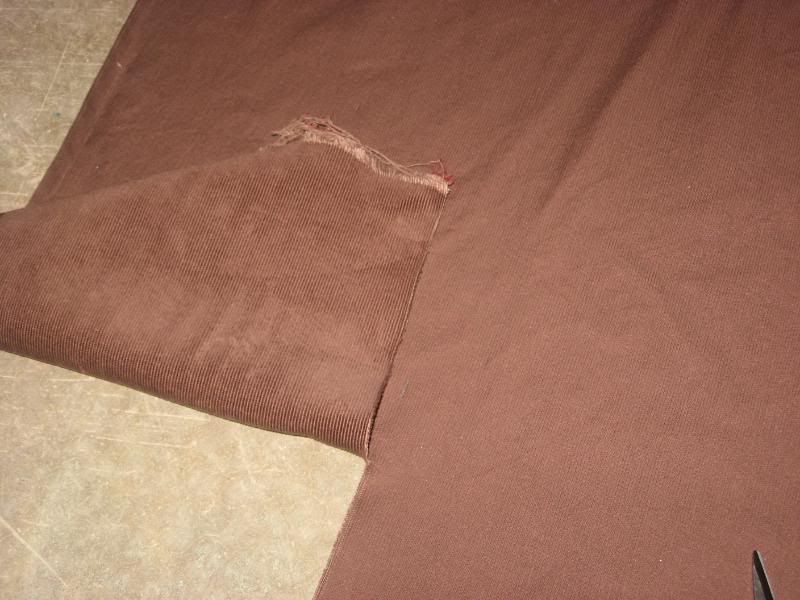 Cord rips reaaallly well along the wales! It's so satisfying to rip, rip, rip all the way to the end. This will give you a 1/2" seam allowance. Note: these are really long straps. You might want to make them up to 10" shorter. I like to tie Tibetan in a back carry, so I make them longer for me. If you decide to make the shoulder straps shorter, make sure you keep the waist strap around 80-84".
Next, sew the shoulder straps. Trim the straps on one end to the desired length. I make mine 88" long so I have 84" finished straps.
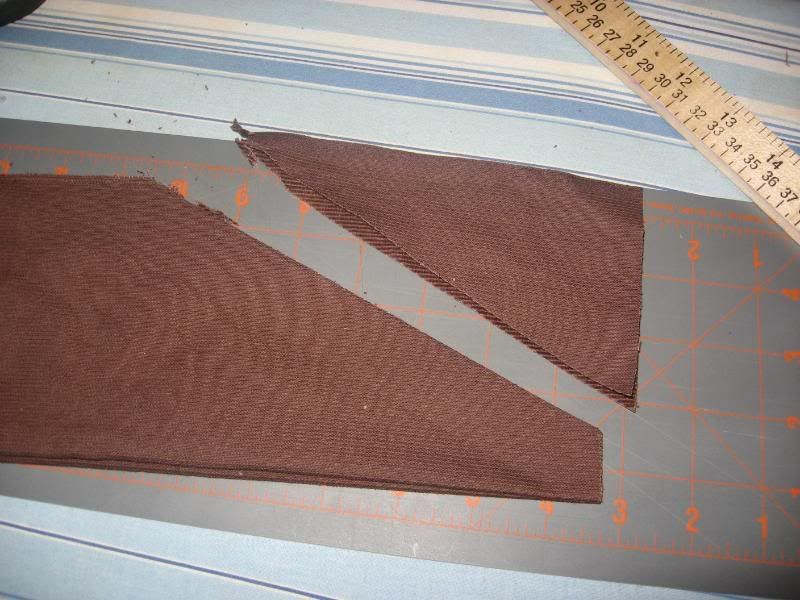 If you desire, cut the straps at an angle on one end if you prefer a taper. I use about a 45 degree angle.
 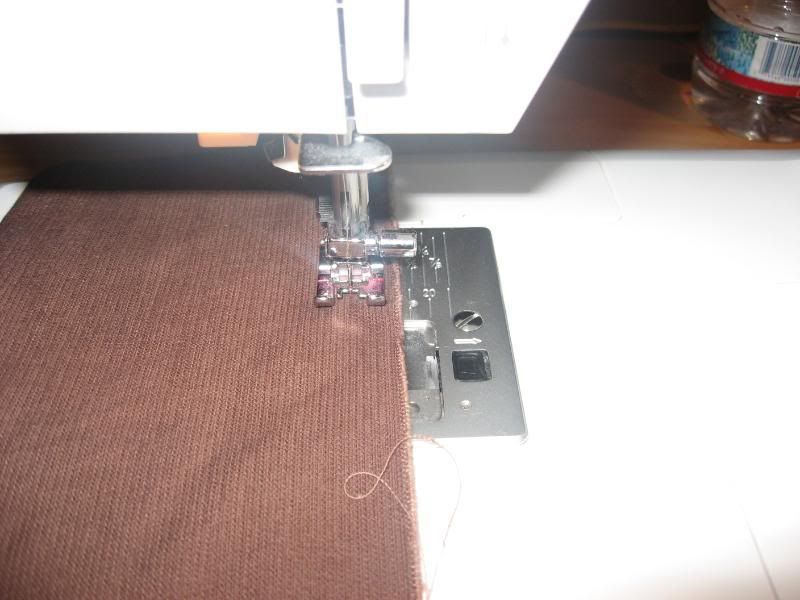 Then, right sides together, stitch the straps from the point of the taper to the end. Turn. Press.
  For the padding - I use a layer of polar fleece - cut 12"x20"
 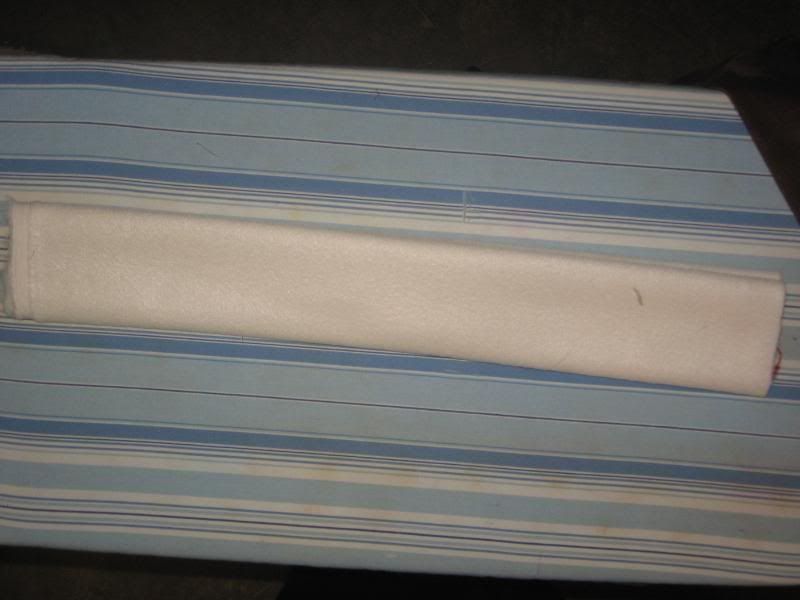 Then, fold the long ends to meet in the center and then fold that in half (so raw ends are tucked inside).
 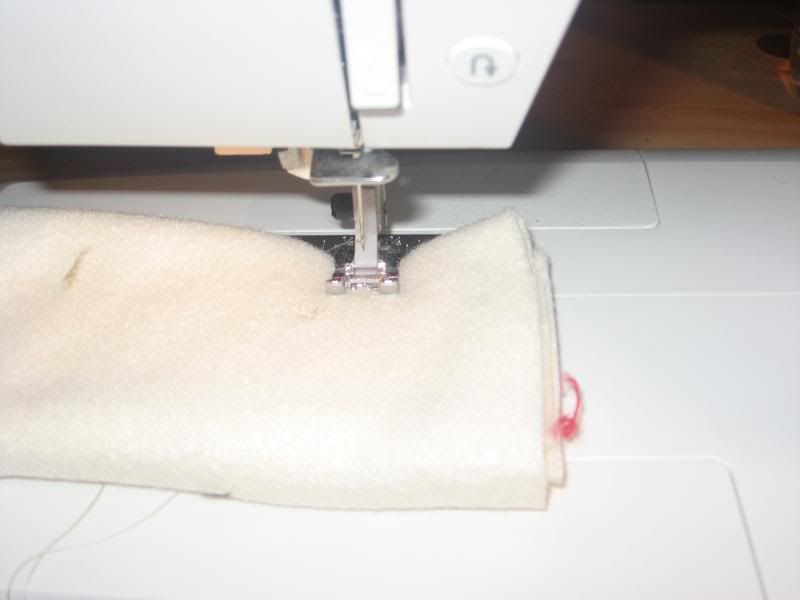 I always make a little tack stitch on the ends and the center so it stays together while I'm stuffing it into the straps.
Fold the top 8-10 inches of the strap down like you're turning down the cuff of socks. Stuff one end of the batting inside and pull the strap material up over the batting. Use kitchen tongs or a yardstick to help in keeping it flat and even. Stuff it far enough inside so that you have at least four inches of strap material left at the top.
 Stitch three equally-spaced lines down the length of the padding in the straps.
 Two: Cut out body panels and attach straps
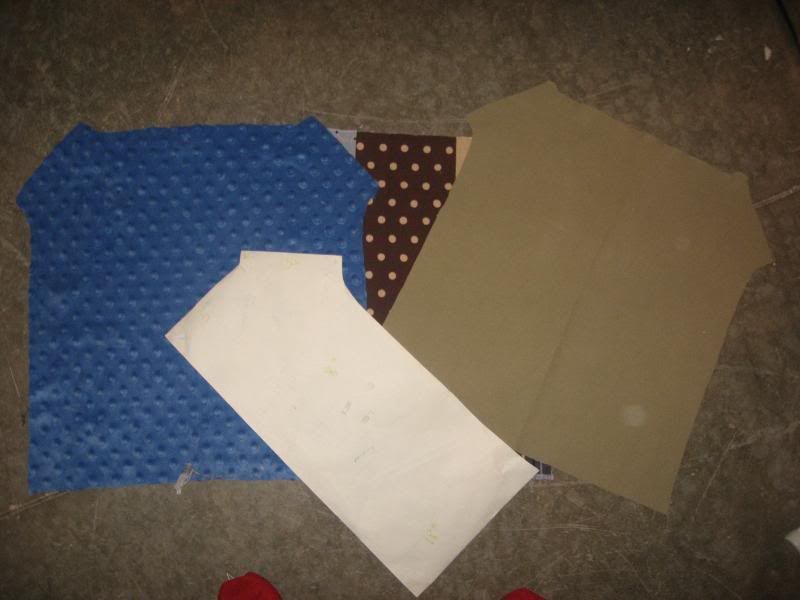 You'll need one layer of your decorator fabric, one layer for the inside or reverse (minky, silk, cord, or another decorator fabric if you want it to be reversible to that), and one layer of heavy canvas for the inside.
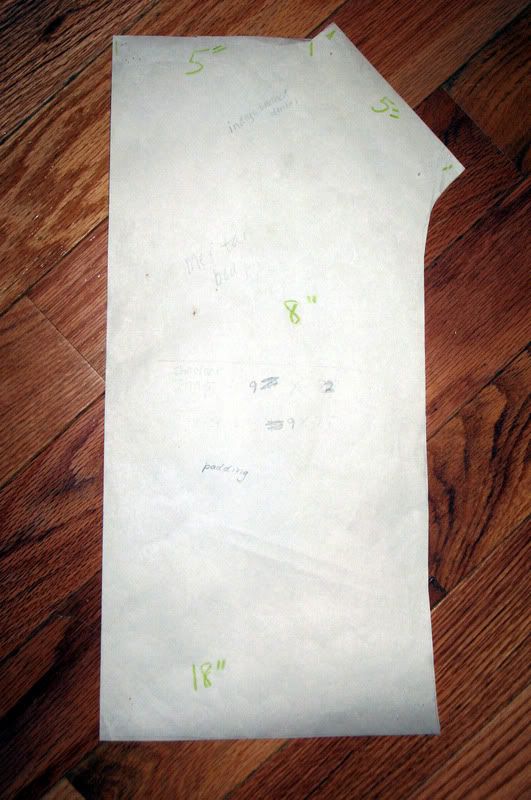
 Here is a pic of my pattern Cut on the FOLD.The body is 8" wide at the middle, 18" tall. The flat part at the top is 5" and the part where the shoulder straps attach is also 5". You may choose to make your pattern a few inches taller if you have an older baby. This pattern will yield a MT approximately 17"-17.5" tall.
 Working with the canvas layer, attach the straps to the corners with x-boxes. First. fold down 3/8" of the body panel where the shoulders attach and press.
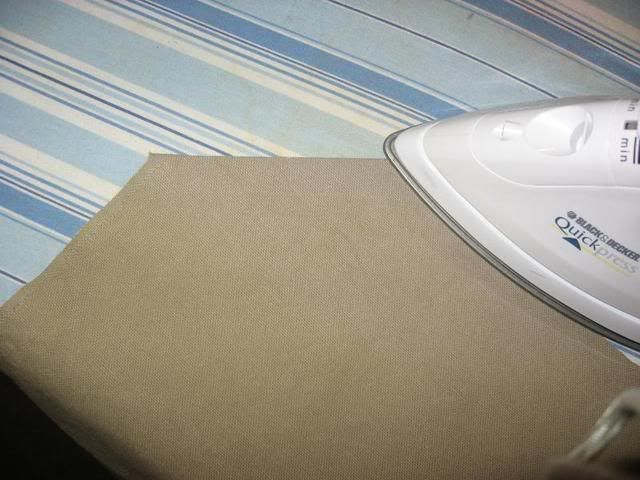
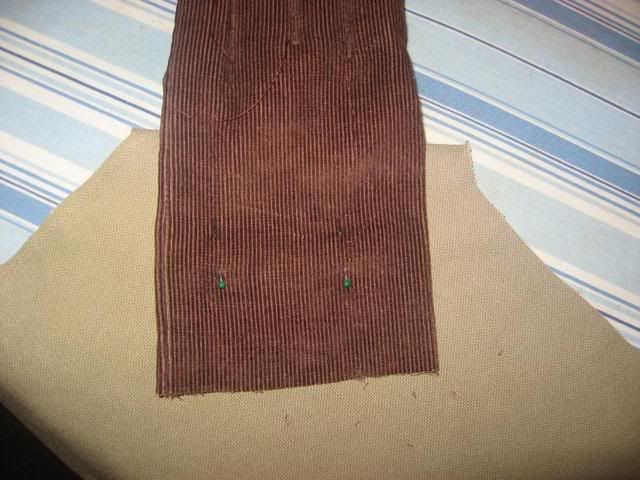 Then, pin the straps centered on the body.
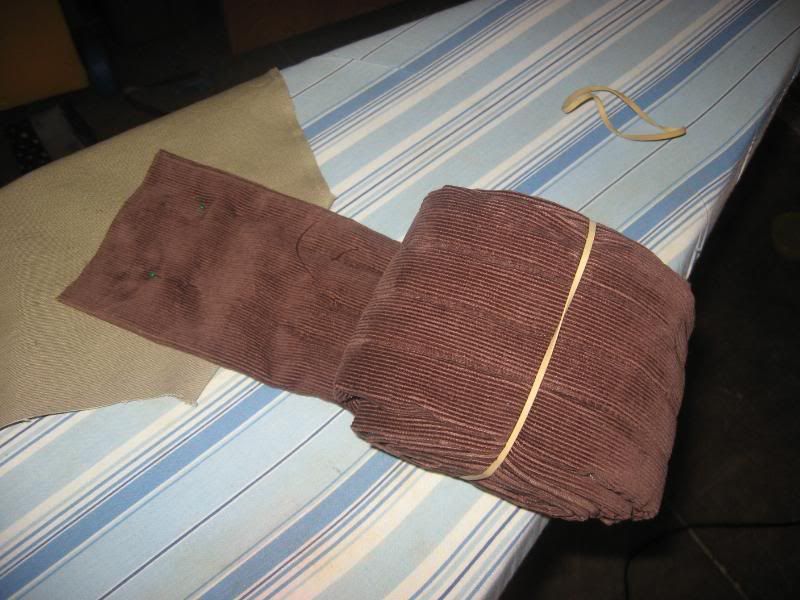 Tip: roll up the straps and secure with a rubber band to keep things neat while you're stitching.
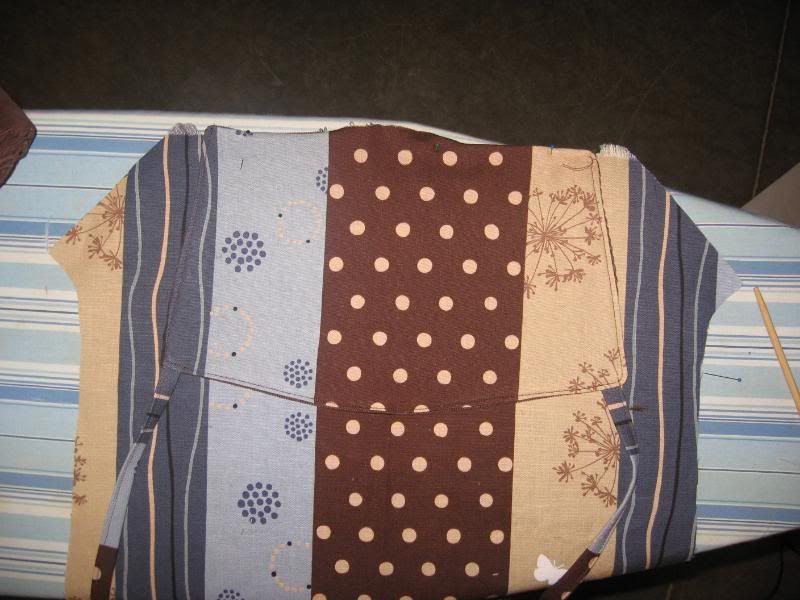
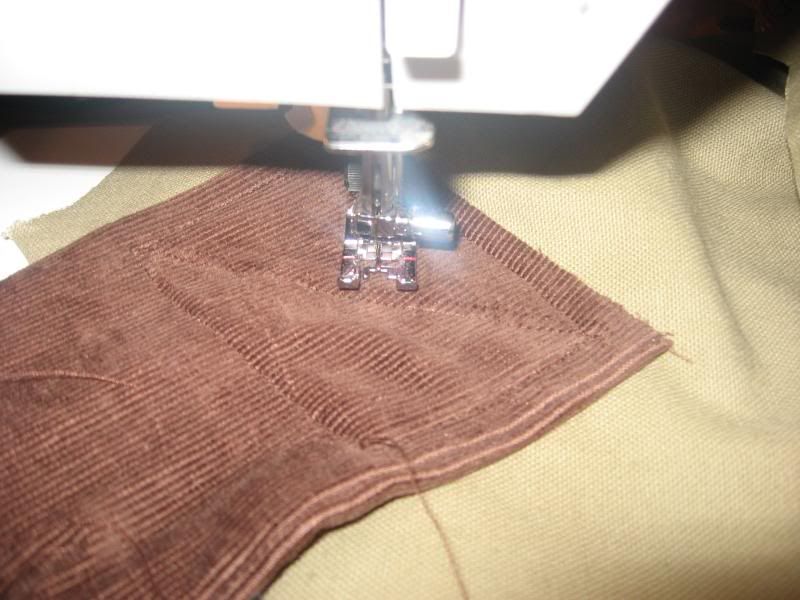 Stitch around the straps with a square and an X in the center. I usually start at a long end and work my way around, reverse-stitching on the short ends to get to the corner before I start my diagonal stitch for the "X." Just neater that way and I don't have to cut the thread and start over again.
Step Three: Baste Reverse to Canvas
After your X-boxes are sewn, 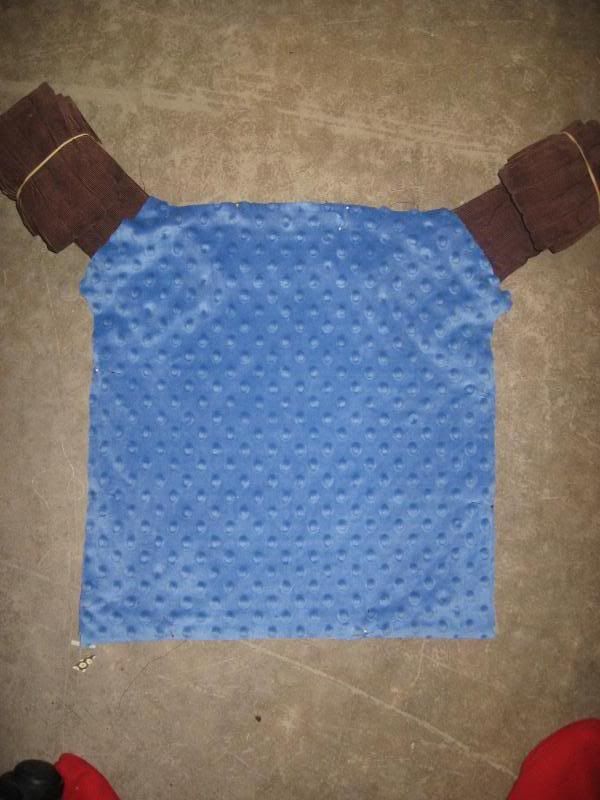 pin the reverse side facing UP to the canvas layer (with the straps and X-boxes facing UP).
 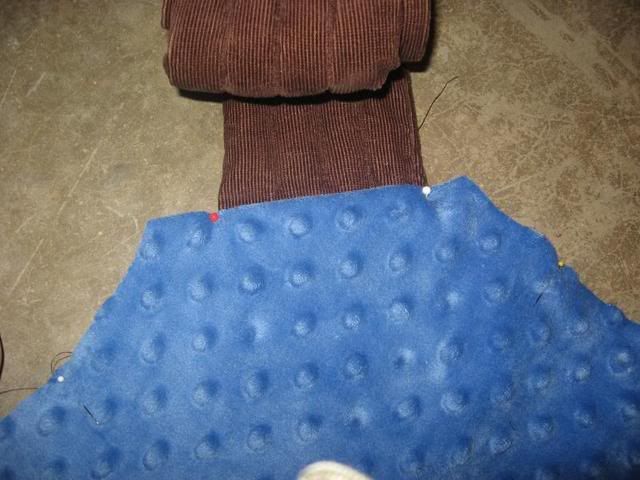 Also, fold down 3/8" of the reverse layer where the shoulder straps attach and pin. Machine-baste the reverse layer to the canvas layer with a 1/4" stitch SKIPPING OVER the part where the shoulder straps are attached that you folded and pinned.
 Cut out one layer of designer fabric and one layer of cord for the hood. For my pattern (on the FOLD),
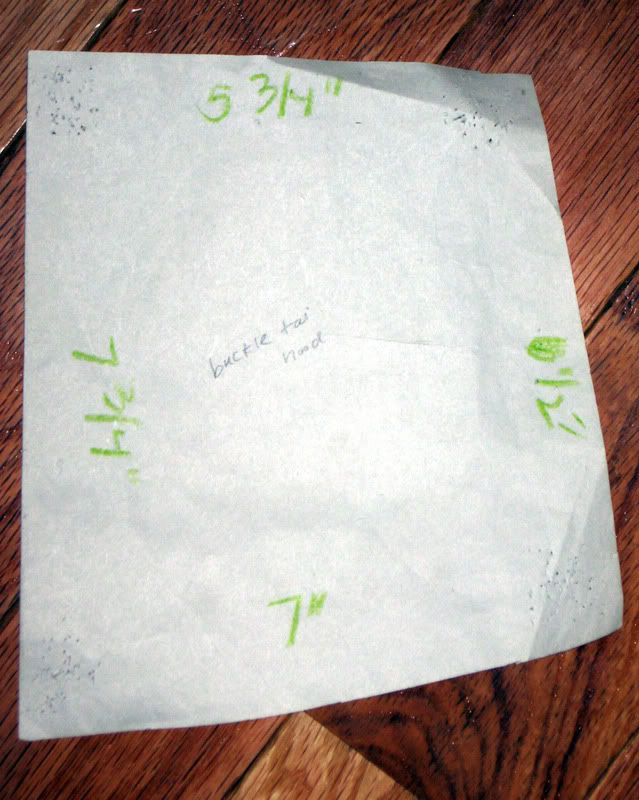
The hood is 5.75" at the top, 6.5" on the outside, 7.75" on the inside and 7" at the bottom. You may want to match up the hood to the body, depending on the design.
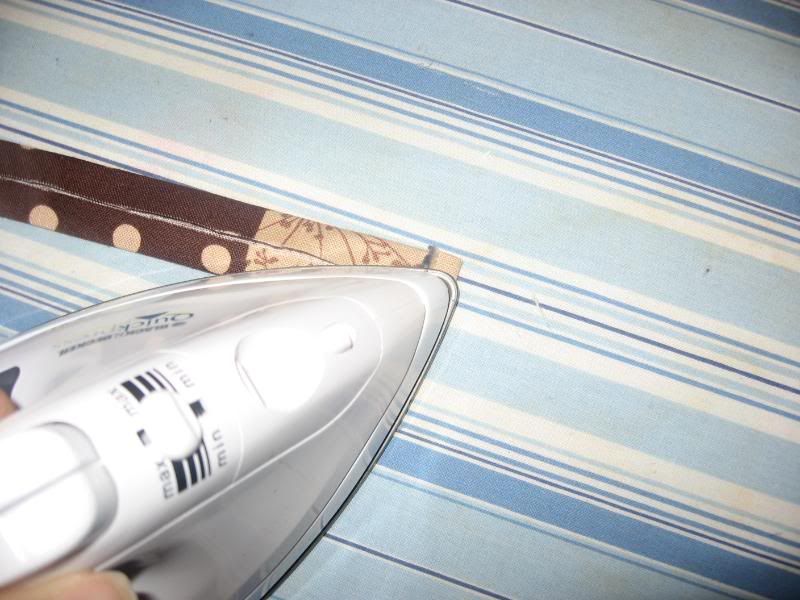 Also, cut two strips for the hood straps - 2" by 14" out of either silk or the decorator fabric. To make the straps, just fold the long ends to the center to meet, press, fold the raw ends of one edge under, press,
  then fold in half, press, pin and topstitch to close.
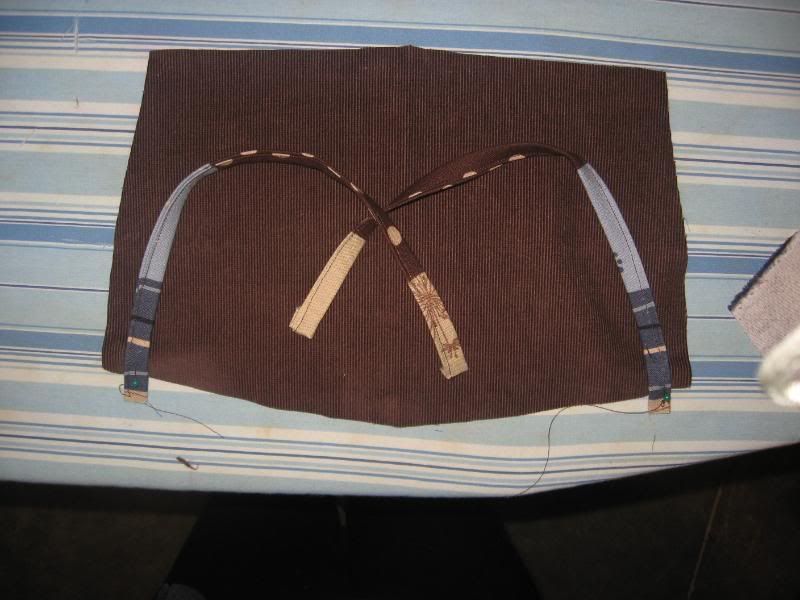 With the right side of the reverse of the hood facing up, pin the straps at the bottom corners with about 1/2-inch of the raw ends sticking out. Tucking the hood straps to the inside, pin the hood right sides together.
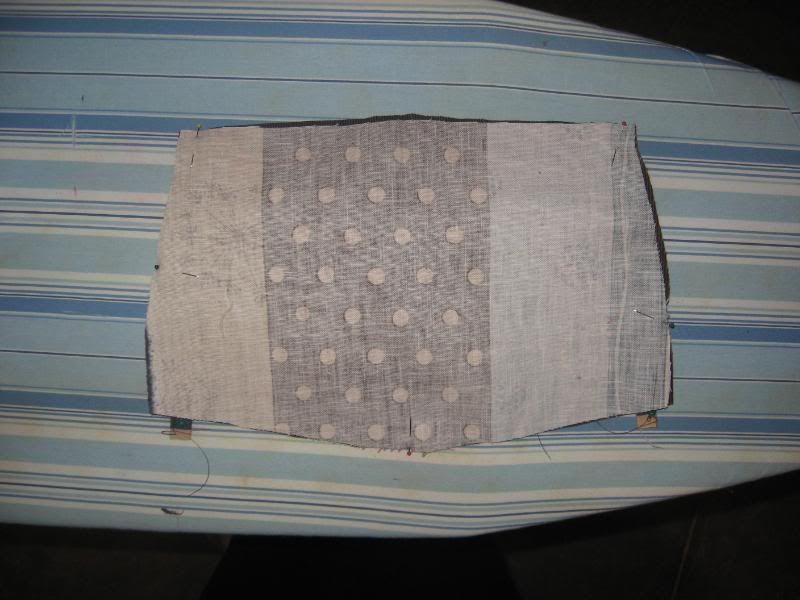 Stitch with a 1/4" seam allowance, leaving a small hole for turning at the top.
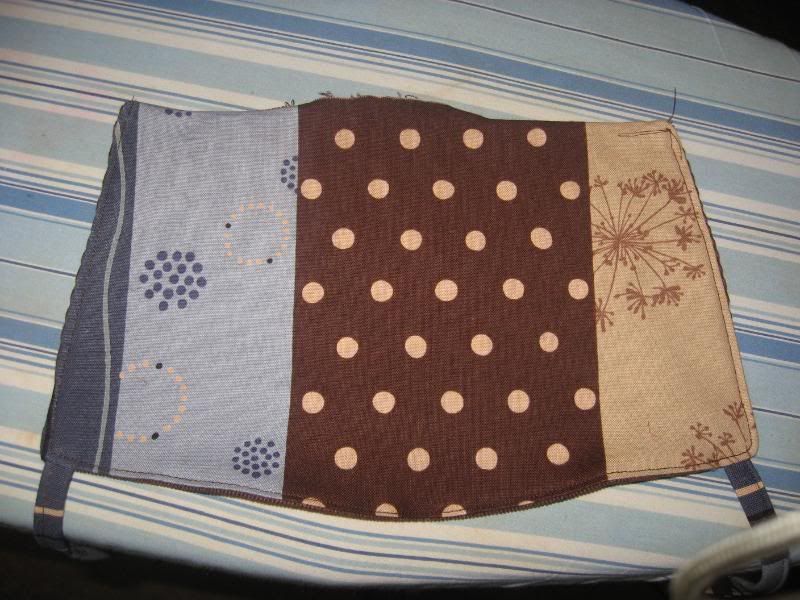 Turn, press, topstitch. You don't have to worry about closing the hole because it will be hidden.
Step Five: Stitch Front to Back and Sandwich Hood
Now, pin the hood right side down onto the reverse side of the MT at the top, centered on the body between the straps. Pin the decorator fabric, facing down on top of the reverse.
 If your hood needs to be lined up with your front panel, pin the two pieces together, lining up the pattern and then pin both
  pieces facing down on top of the reverse.
 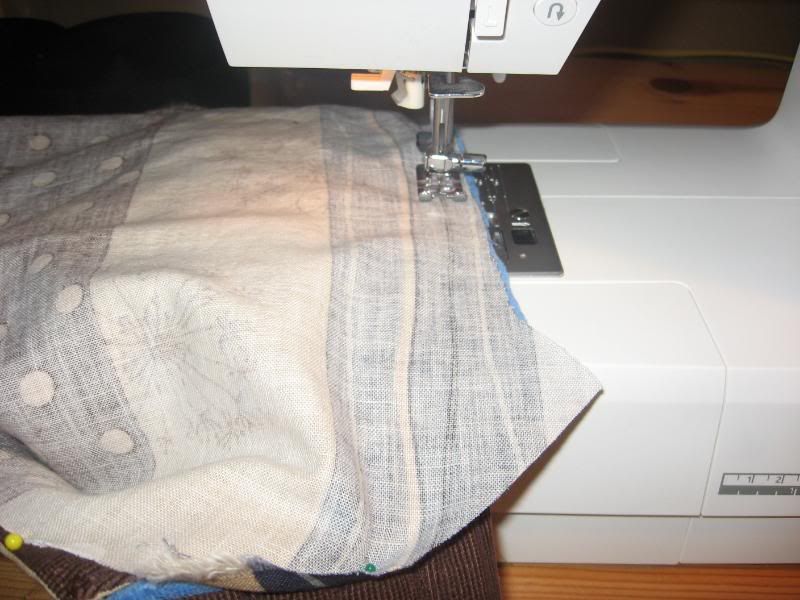 Stitch with a 1/2" seam allowance SKIPPING OVER the part where the shoulder straps are attached that you folded and pinned. Don't worry about stitching the bottom closed. This will be sandwiched in the waist strap anyway. Turn inside out, press.
 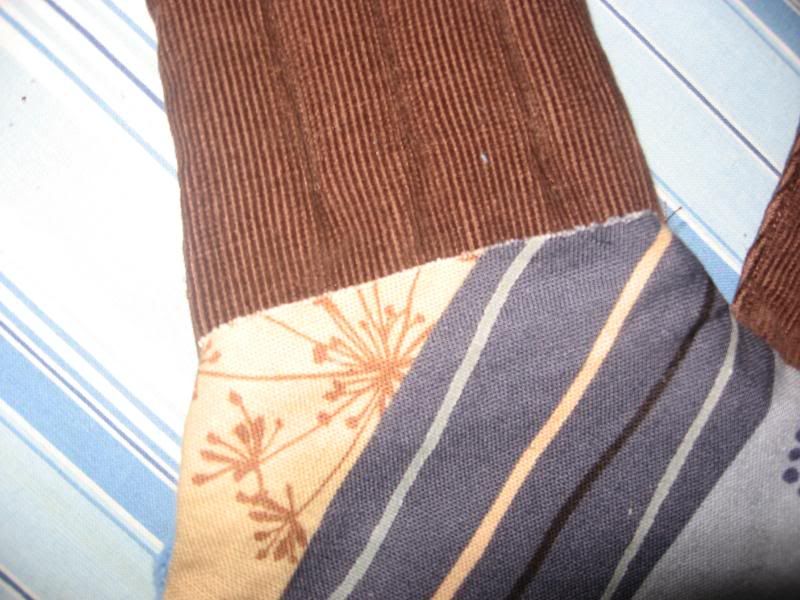 Now, where you've folded under the canvas and reverse fabrics, you'll see you now have neat layers.
 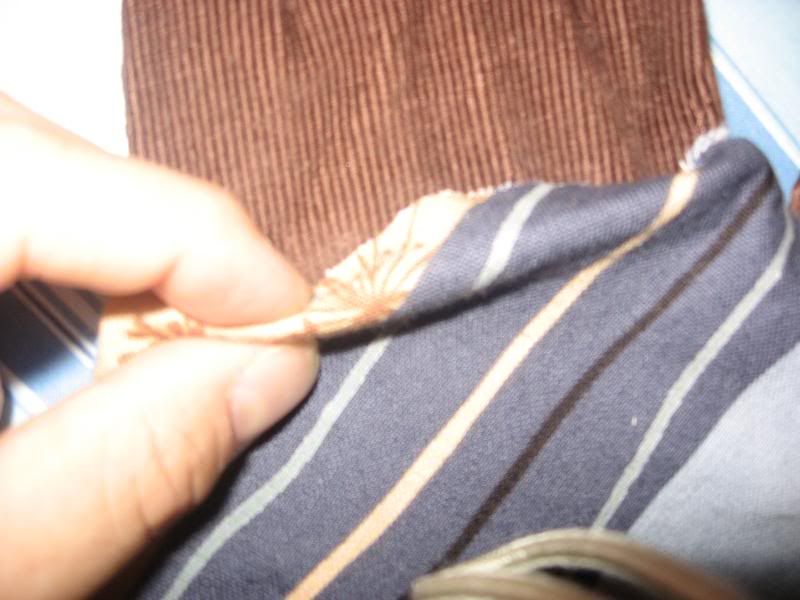 Fold the decorator fabric under and
 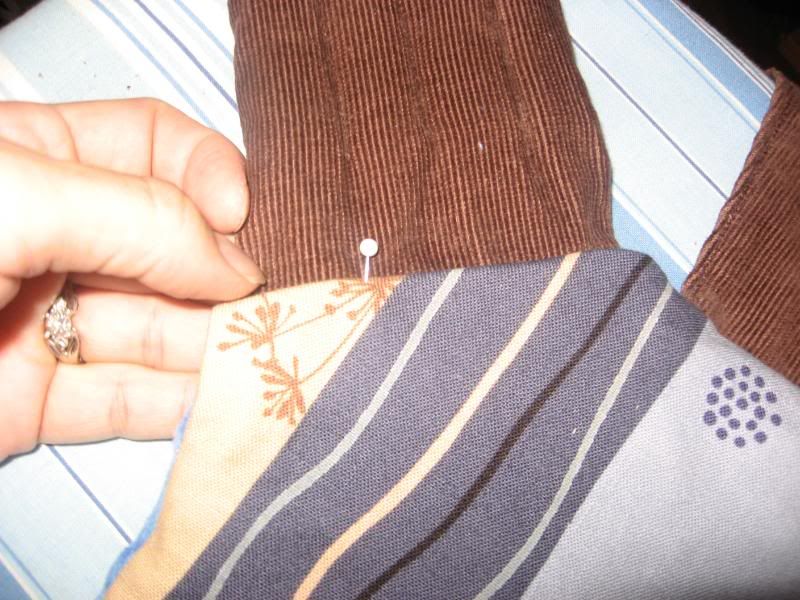 pin through the straps and layers.
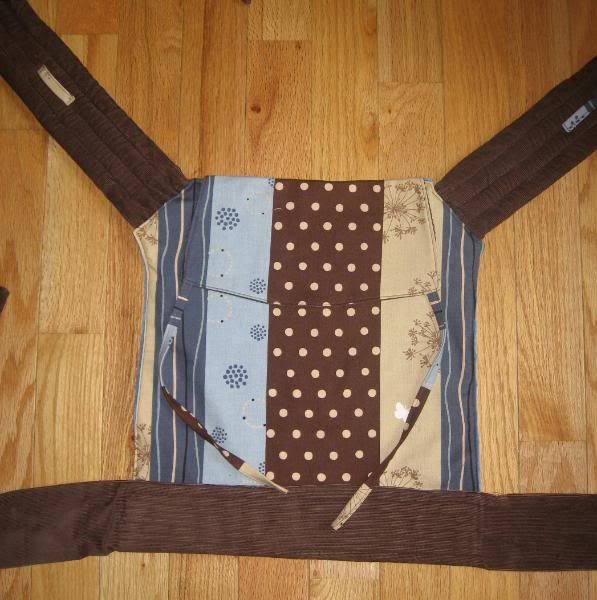
 Topstitch around the entire carrier, except the bottom, very close to the edge. This will close the holes and give the carrier a nice, finished look.
Step Six: Make and Attach Waist Strap
Take the last strap, cut a taper on both ends if desired, stitch right sides together, leaving an 18" hole in the center. Turn, press.
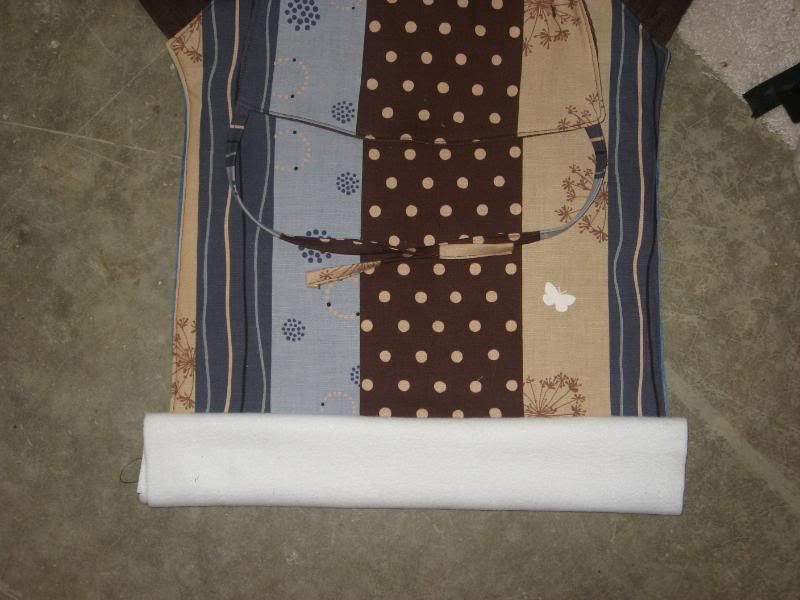 Measure a 12"x17" piece of polar fleece, fold it like you did for the shoulder straps, insert the bottom few inches of the body of the carrier inside the padding and then sandwich inside the hole in the waist strap, turning the raw ends under.
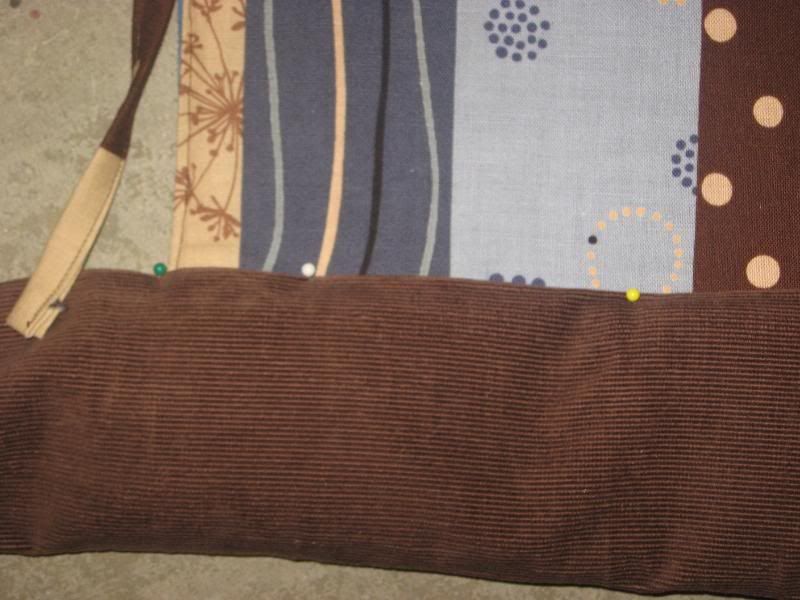 Pin through the straps, body and padding, making sure to catch the bottom strap.
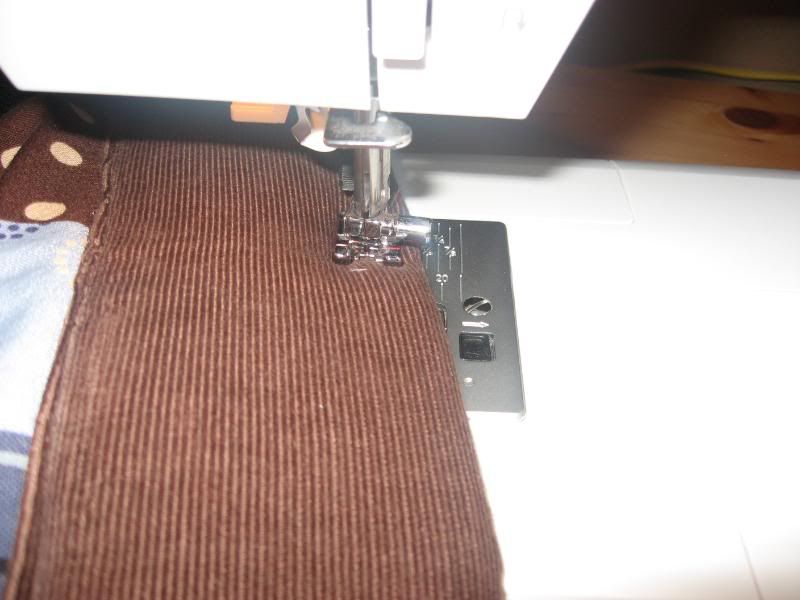 Top stitch to close the opening and then stitch horizontal lines every 1/2-inch through the padding for security and comfort.
Step Seven: Make and Attach Hood Loops
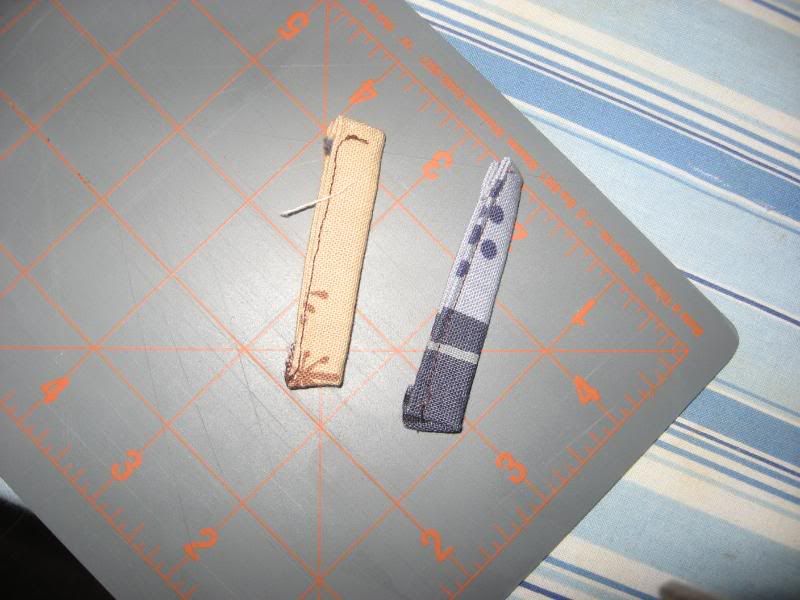 Make some little hood loops for the straps - cut some pieces of silk or decorator fabric 2"x3", fold like the hood straps, topstitch, turn raw ends under and stitch to the shoulder straps so that they can be easily accessed in either a front or back carry. I pin the bottom of the hood loop 7" from the shoulder strap.
Voila! Or, as they say in Norway, Værsågod!